Running any app with shell scripts
Besides using Plotly Dash and R Shiny, Faculty supports building custom applications that are run from a given shell script. It is the most flexible way of running apps, as you can start any kind of server from a shell script.
Developing the application
When you are just starting out, you probably want to develop the application without exposing it to other people in your project.
The easiest way of doing this is to just create a Jupyter server, open a terminal in that server and run the following commands:
$ conda activate Python3
$ sudo sv stop jupyter
This has stopped the Jupyter notebook running on that instance, freeing the port for our application.
Let’s start by creating a directory in the project workspace:
$ mkdir -p /project/custom-app-example
Let’s now write the code for our application. We will create an application
that hosts static website content. Create a file called app.sh in
/project/custom-app-example, with the following contents:
exec python -m http.server 8888
This code defines a minimal application that listens on port 8888, the port
that we have freed by stopping Jupyter. Let’s also create another file, called
index.html in /project/custom-app-example, with the following contents:
<html>
  <body>
    My First Custom App
  </body>
</html>
This is a very simple static website that we can display. Let’s now start our app:
$ cd /project/custom-app-example
$ bash app.sh
If you now open your server from the servers section of the workspace:
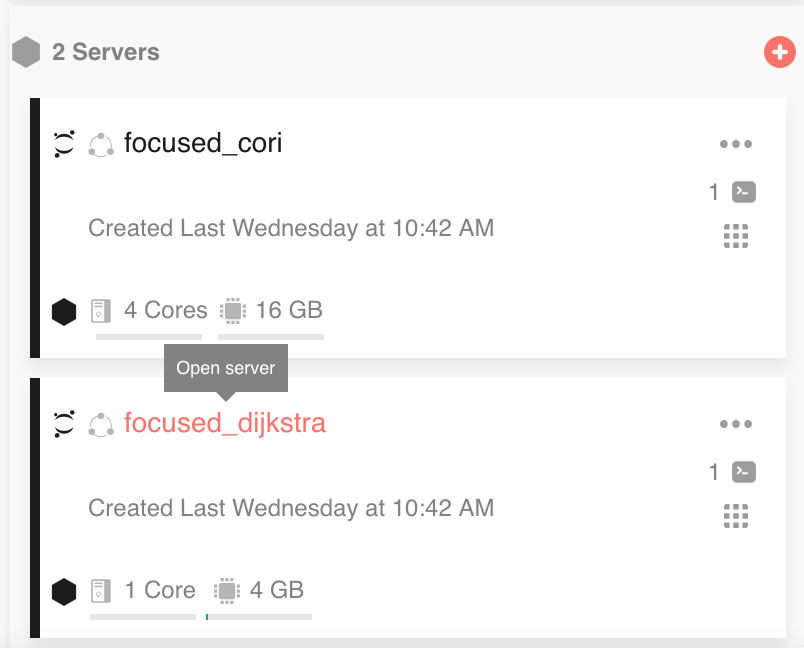
You will see your application!

Carry on developing your app.
Deploying the application
You have now developed a great app, and you want to let other members of your project access it. Head to the Deployments page in Faculty, and in the Apps tab click the + button above the tab to create a new app. You will be prompted to enter a name and domain for your app. Select Custom for Type.
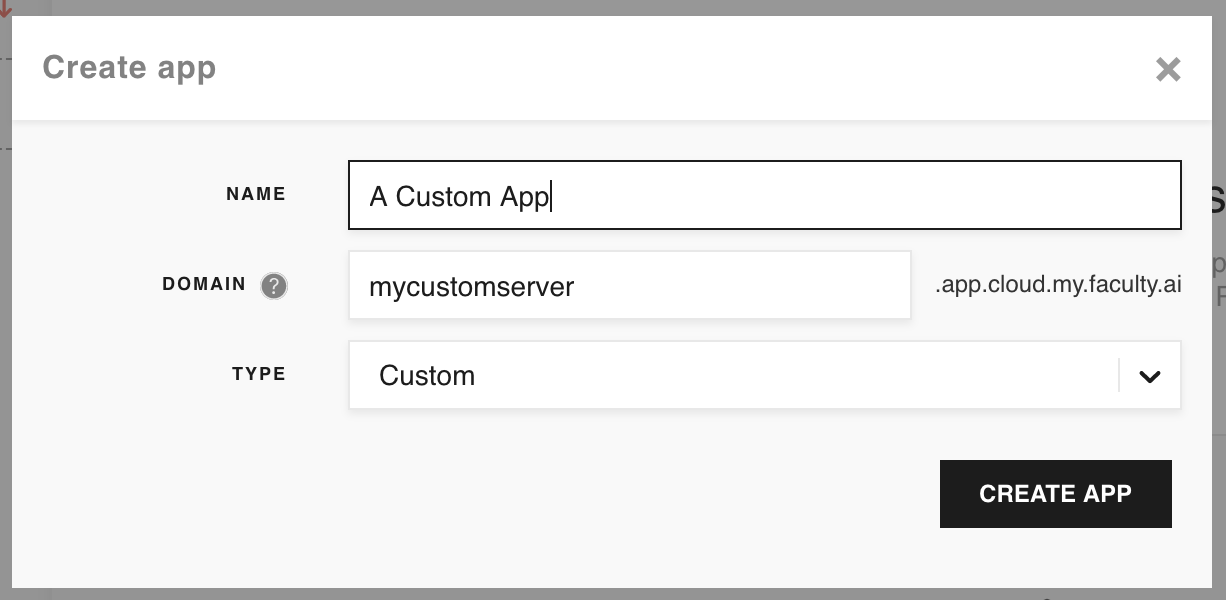
Click Create App. You will then be taken to the App Settings page.
You will need to make the following changes to the application settings:
Change the working directory to
/project/custom-app-example.Change the script to
app.sh.
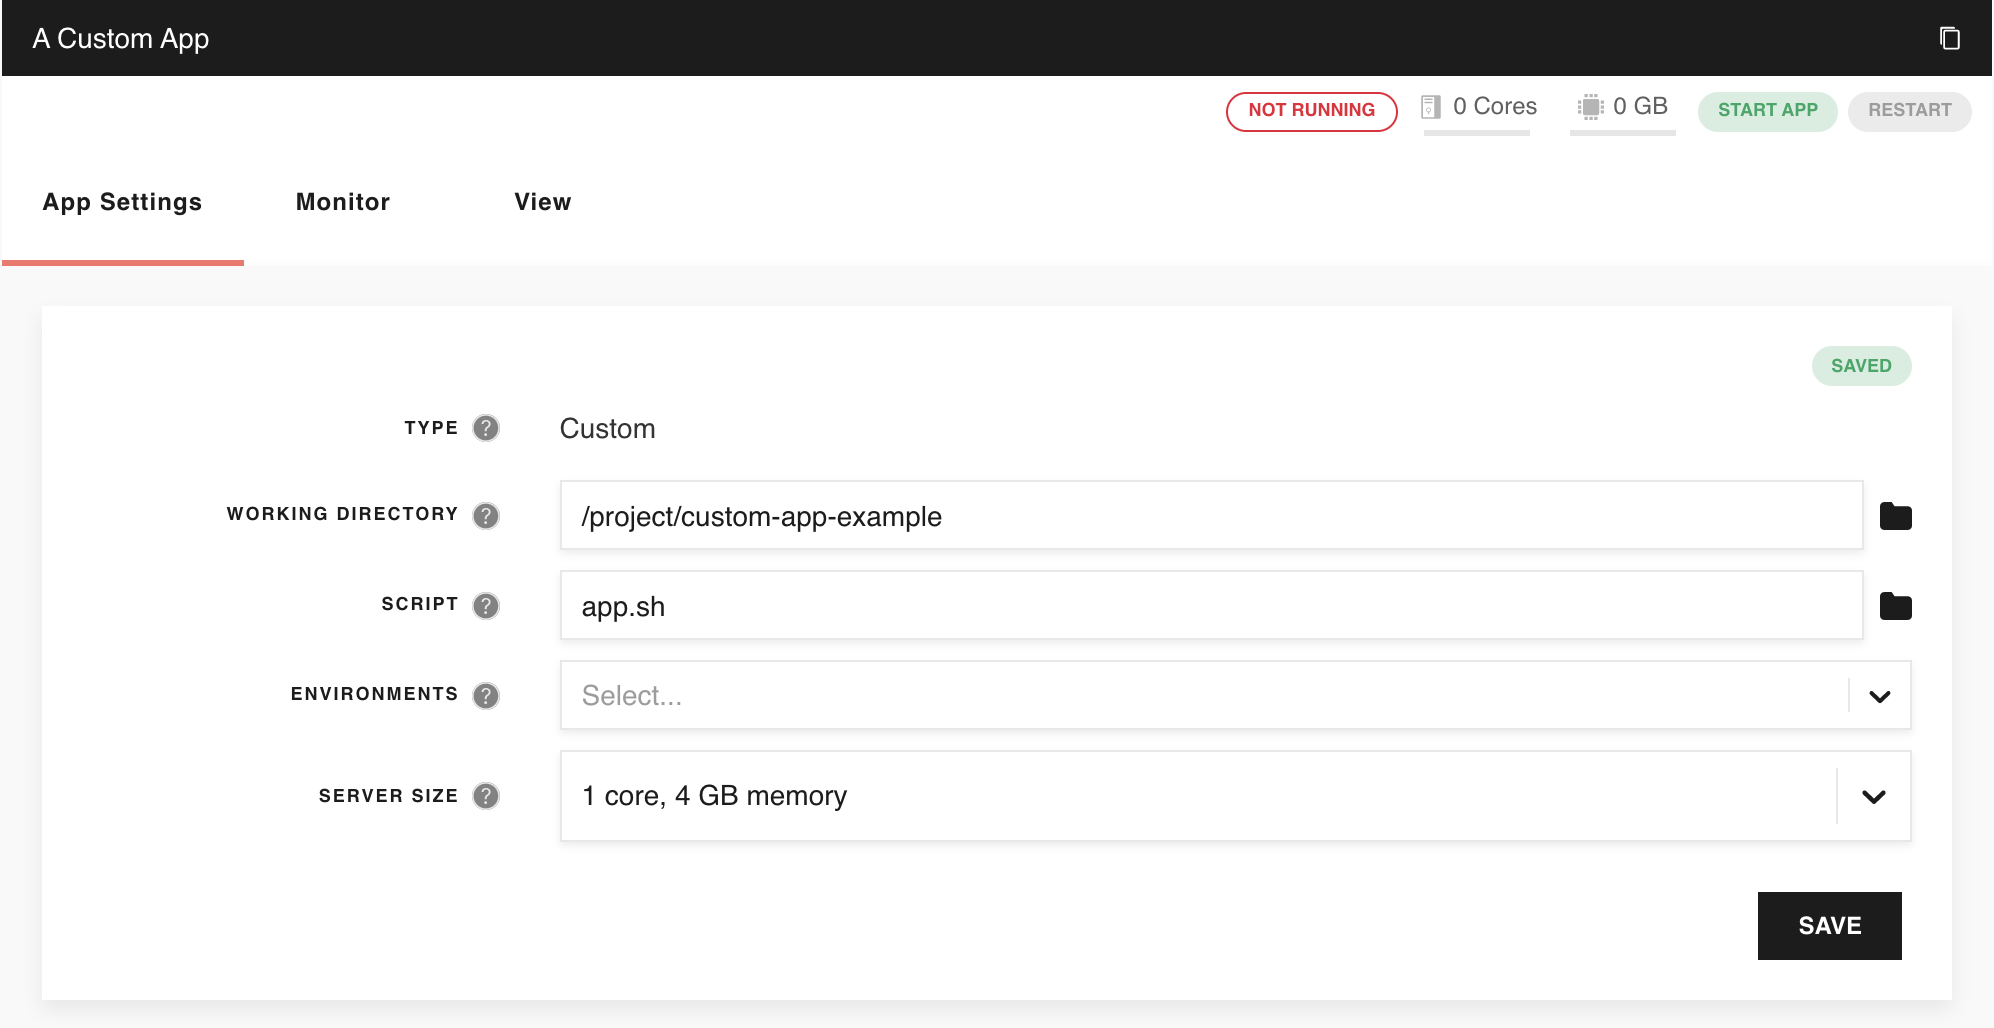
Save your application by clicking the Save button, then click Start app to start your custom app server. After a few seconds, you will see the status of your app change to Running. At this point, a URL will appear. Select that URL and place it in your browser search bar. You will be taken to the application! Behind the scenes, Faculty verifies that you are at least an observer in the project that the app belongs to. While your app is deployed, you can monitor its logs in the Monitor tab.
Sharing your application
To share the application with a team member who is an observer in the project, just give them the URL of the application!
To invite people to your project, go to the Collaborators page, enter their Faculty username or the email that they used to sign up to Faculty, and assign them observer status.
